
Setup of the Sintra Forte involves removing it from the crate, powering up and connecting to internet, plugging in the backup battery, anchoring the machine in place, and configuring the admin. Let's get started.
Video overview
Before proceeding to the steps that follow, please watch our video showing how to unbox your machine below. This will help familiarise you with the full process, and you're welcome to follow along!
Opening the crate
To uncrate your Sintra Forte, with the crate laid flat, begin by removing the top panel by prying the metal hooks with a screwdriver and lifting off.
With assistance, stand the crate upright on the side marked 'bottom side when opening'. Remove by sliding the machine forward from the crate platform.

Accessories kit
Inside the crate, you'll find an accessories box, containing:
- 1 x microfibre cloth
- 4 x bolts
- 2 x lock keys
- 1 x key card
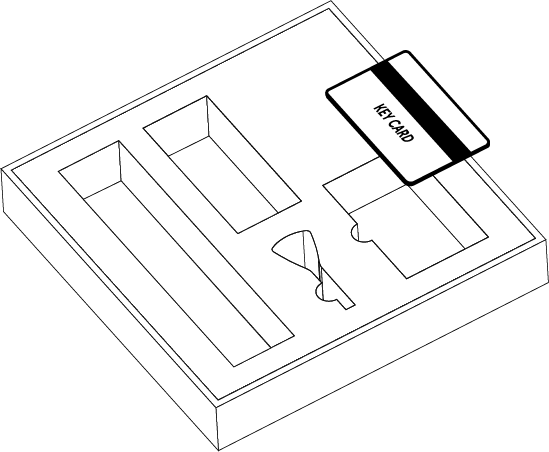
Save the key card that comes in this box and securely back up its contents, as the information on it is required to order new keys. Don't mix it with key cards from other cryptomats until you record which one this card came from.
Connect to power and internet
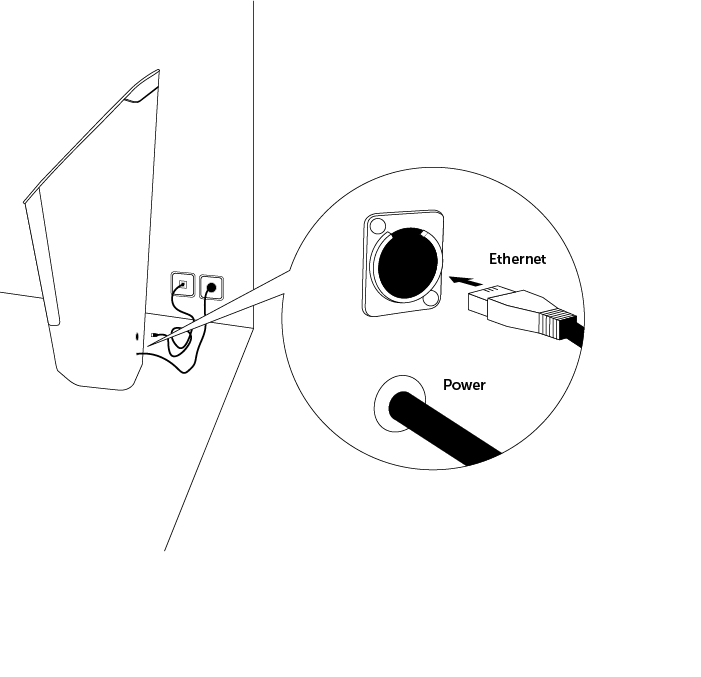
Once in place, connect the Sintra Forte to power and Ethernet via the ports located on the back. It will boot automatically.
Opening
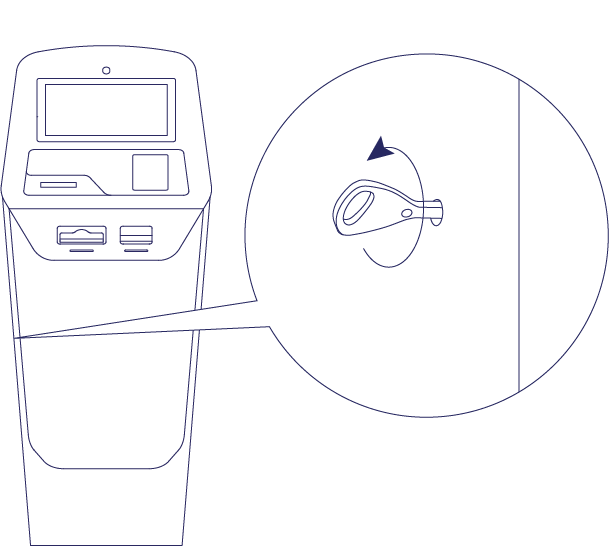
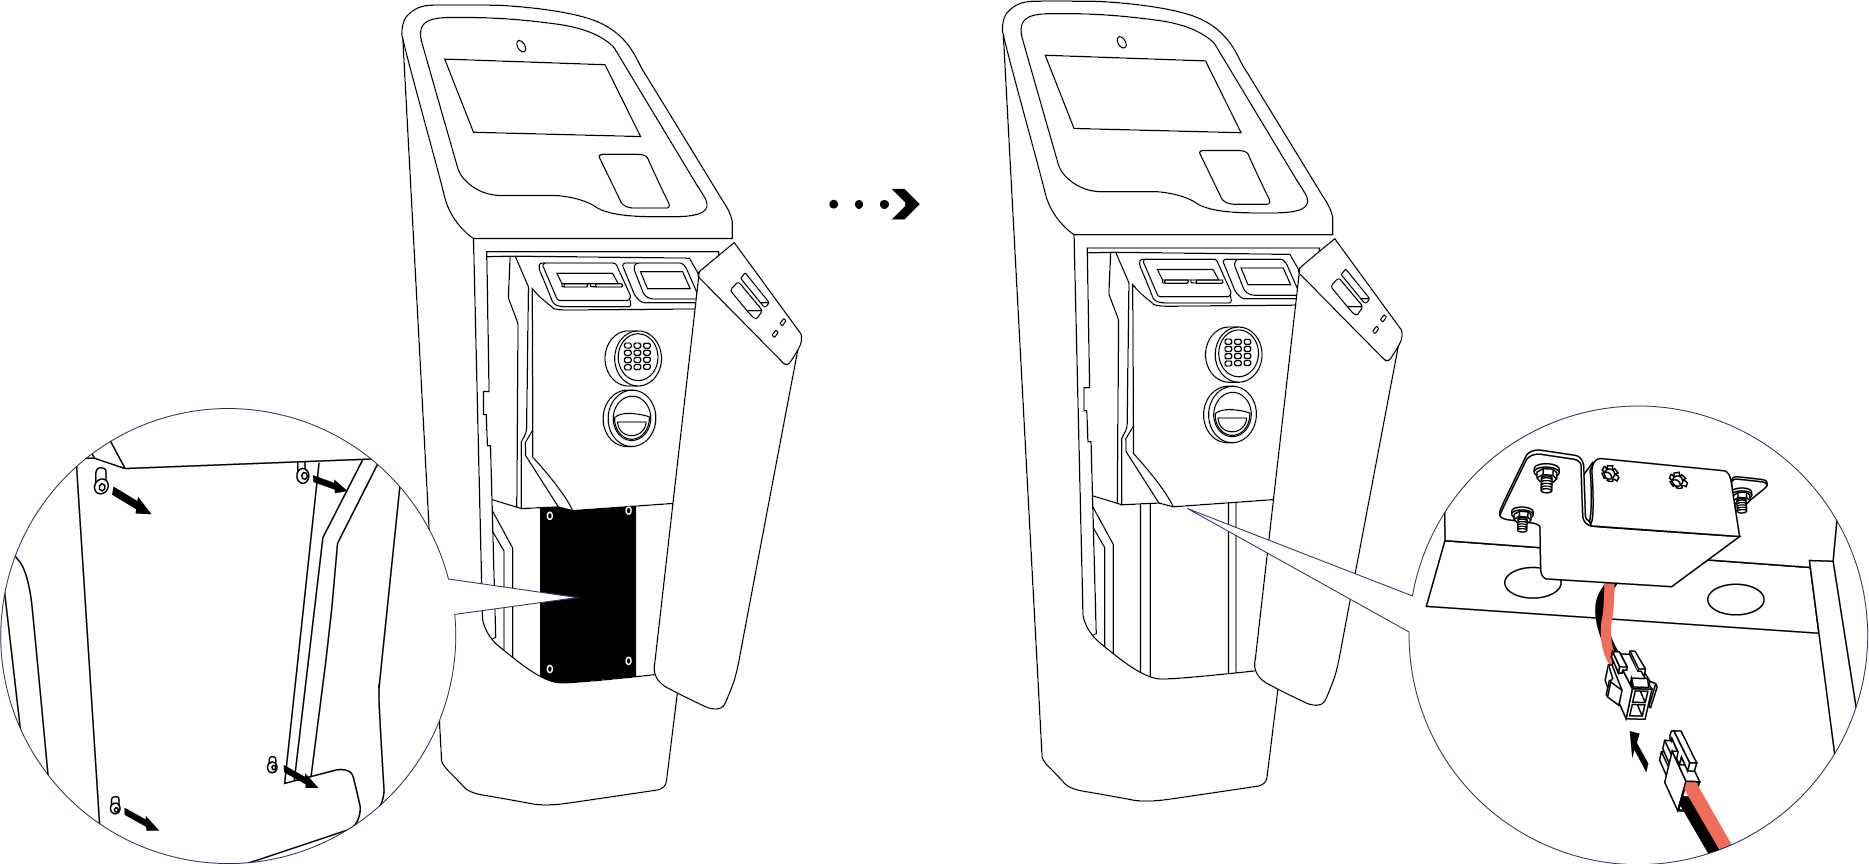
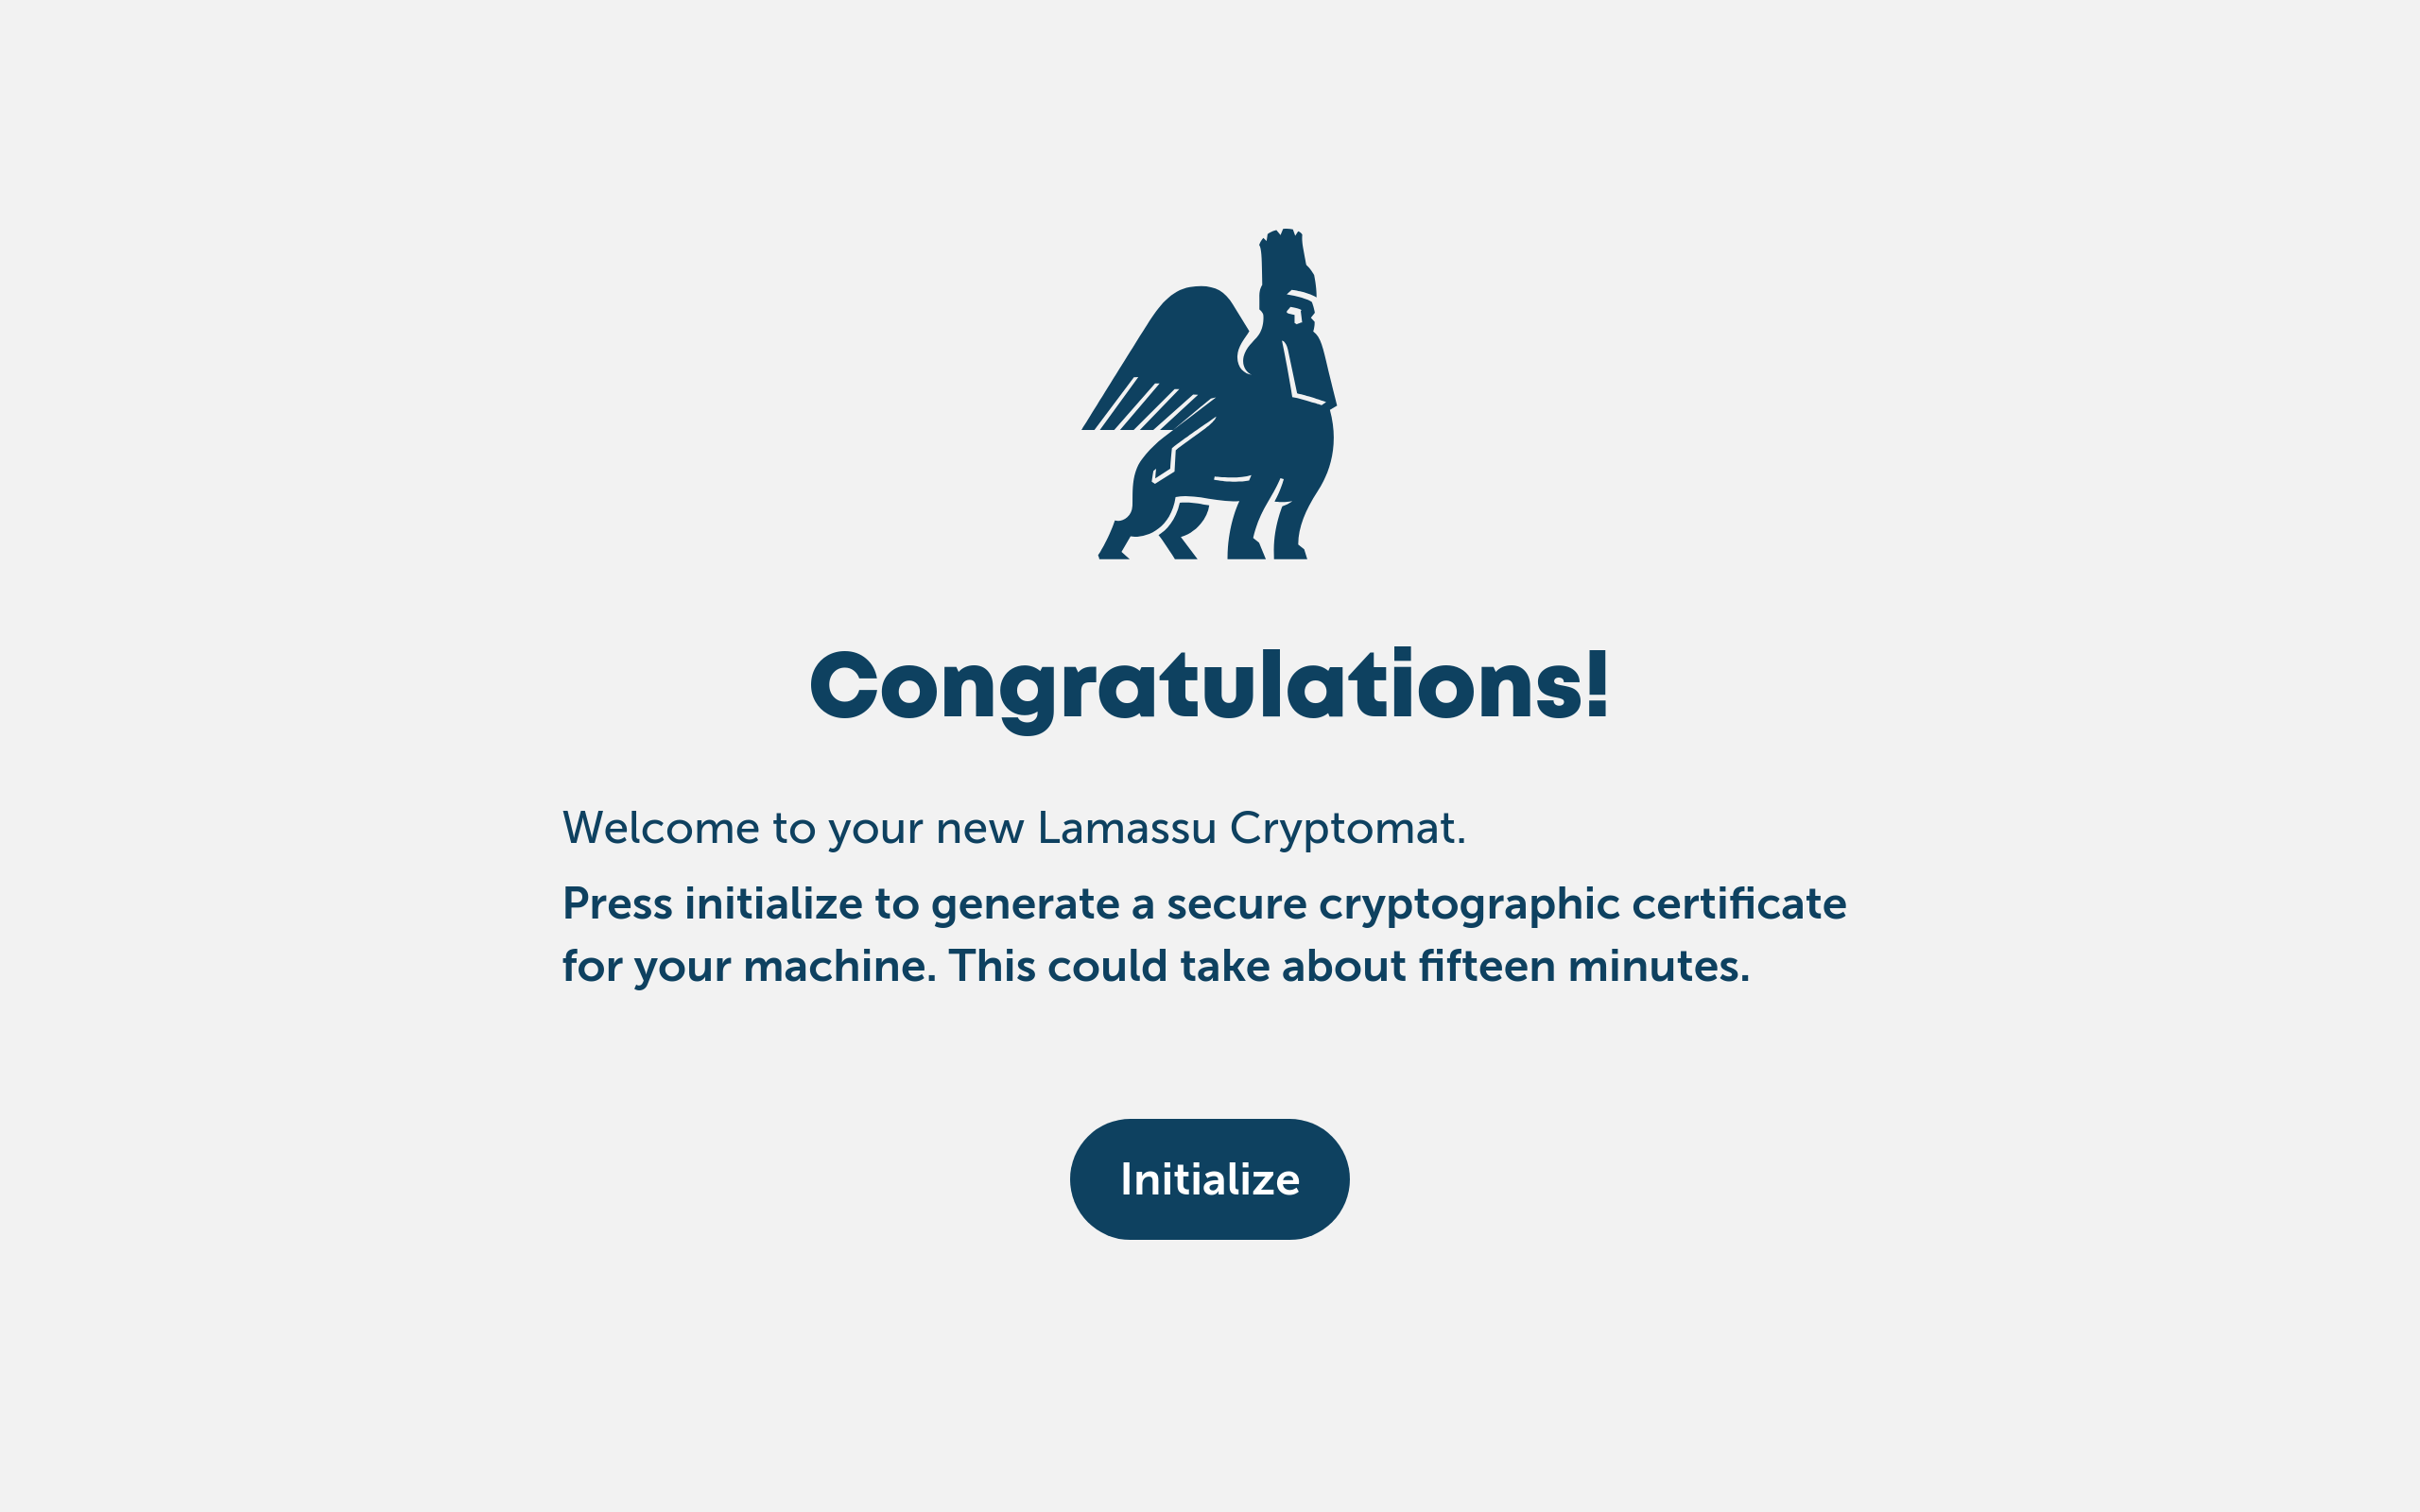
After the machine boots to the 'Congratulations' screen, insert one of the included keys into the bottom left side of the machine. The front door will open.
Unlocking the vault
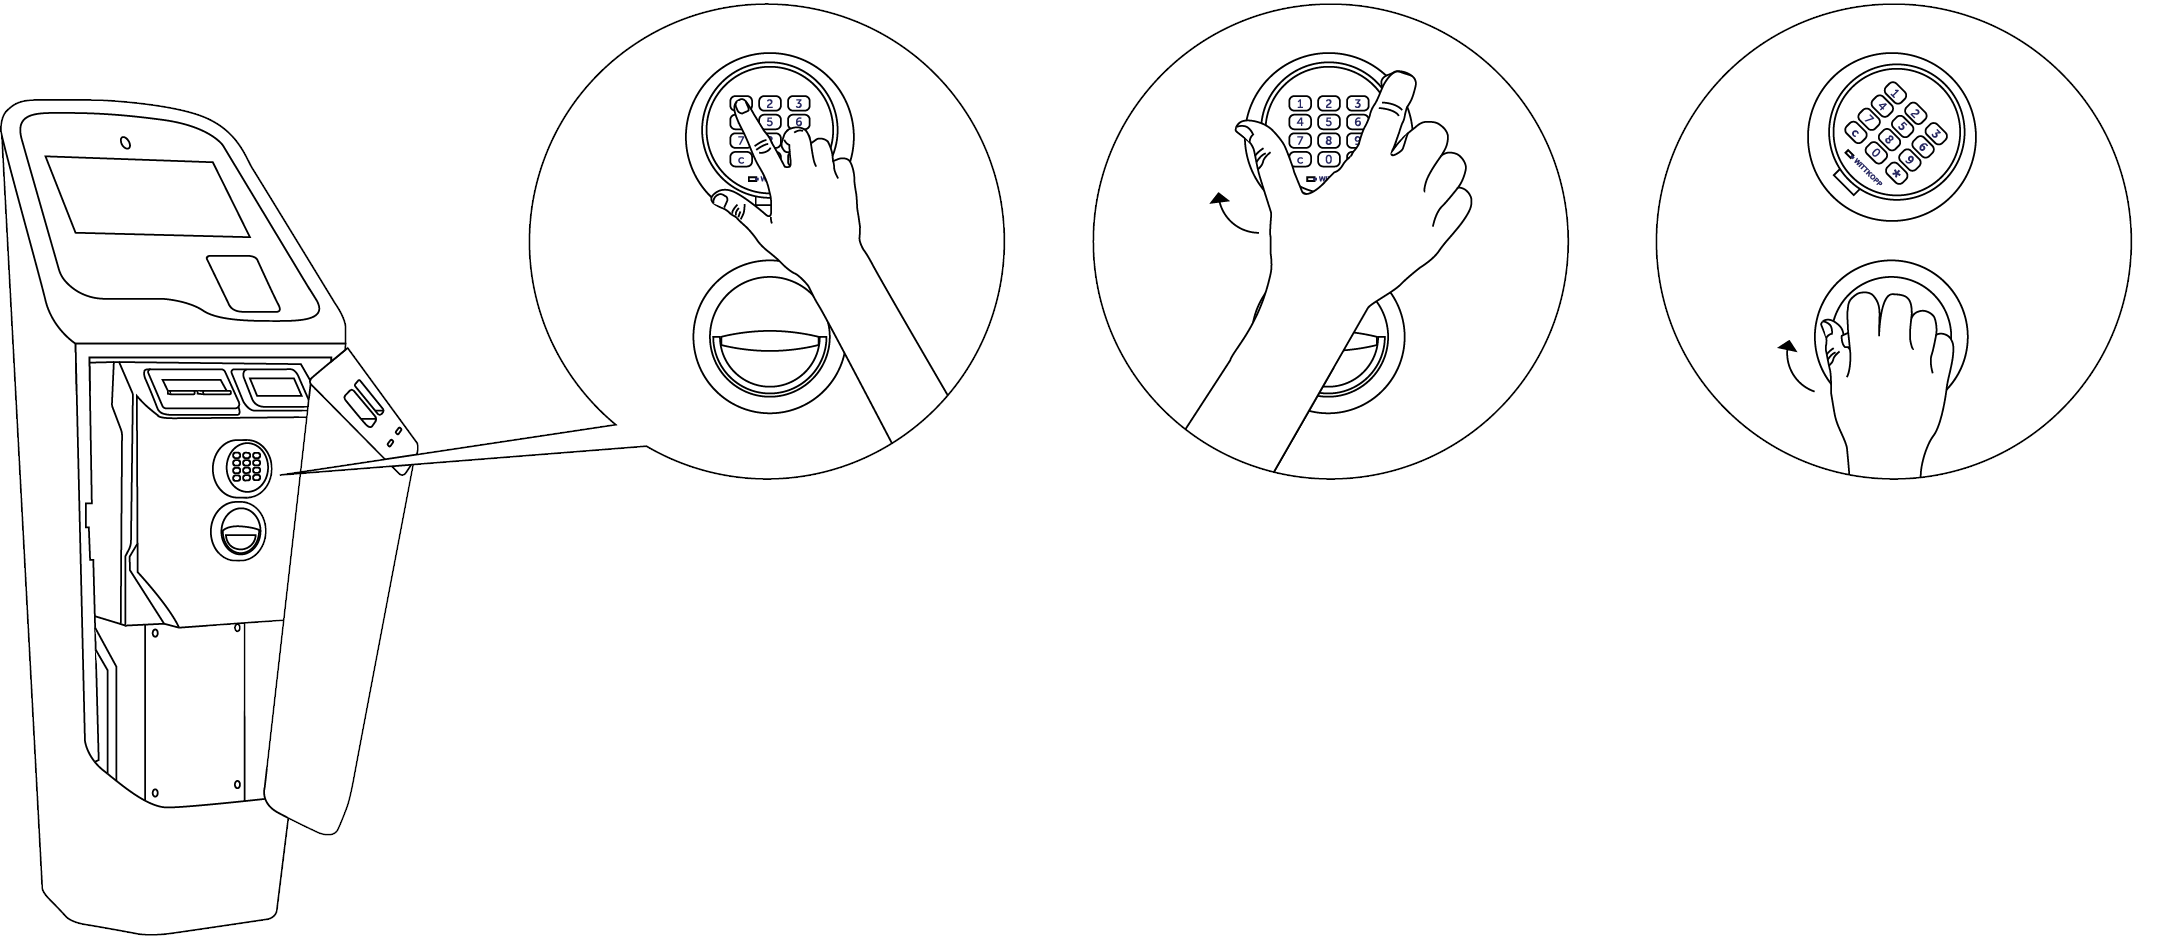
If your vault has a standard Wittkopp lock
Tap the default code 123456, twist the lock panel to the right, and turn the metal handle to open. For notes on changing the default code, consult the article 'Configuring the Wittkopp lock'.
If you have a Cencon lock upgrade
Read our article 'Configuring the Cencon lock' for details on opening the vault and setting up access codes.
Cash boxes
With the front door and vault open on the machine, you can take a look at where your cash boxes are, to understand what each does.
On the left side (Two-Way machines only), you'll find your dispenser cash boxes, these hold the bills that you'll be dispensing to customers in exchange for cryptocurrency. There are two of these, each hold just one dedicated denomination (for example, one may hold only 20s and the other may hold only 100s). These can be filled with up to 500 notes at once.
On the right side, you'll find your validator cash box, this holds the bills that you'll be collecting from customers in exchange for cryptocurrency. The validator cash box has a maximum capacity of 1000 bills.
Anchoring the Sintra Forte
If your cryptomat is at its final location, we highly recommend securing it by bolting it into place.
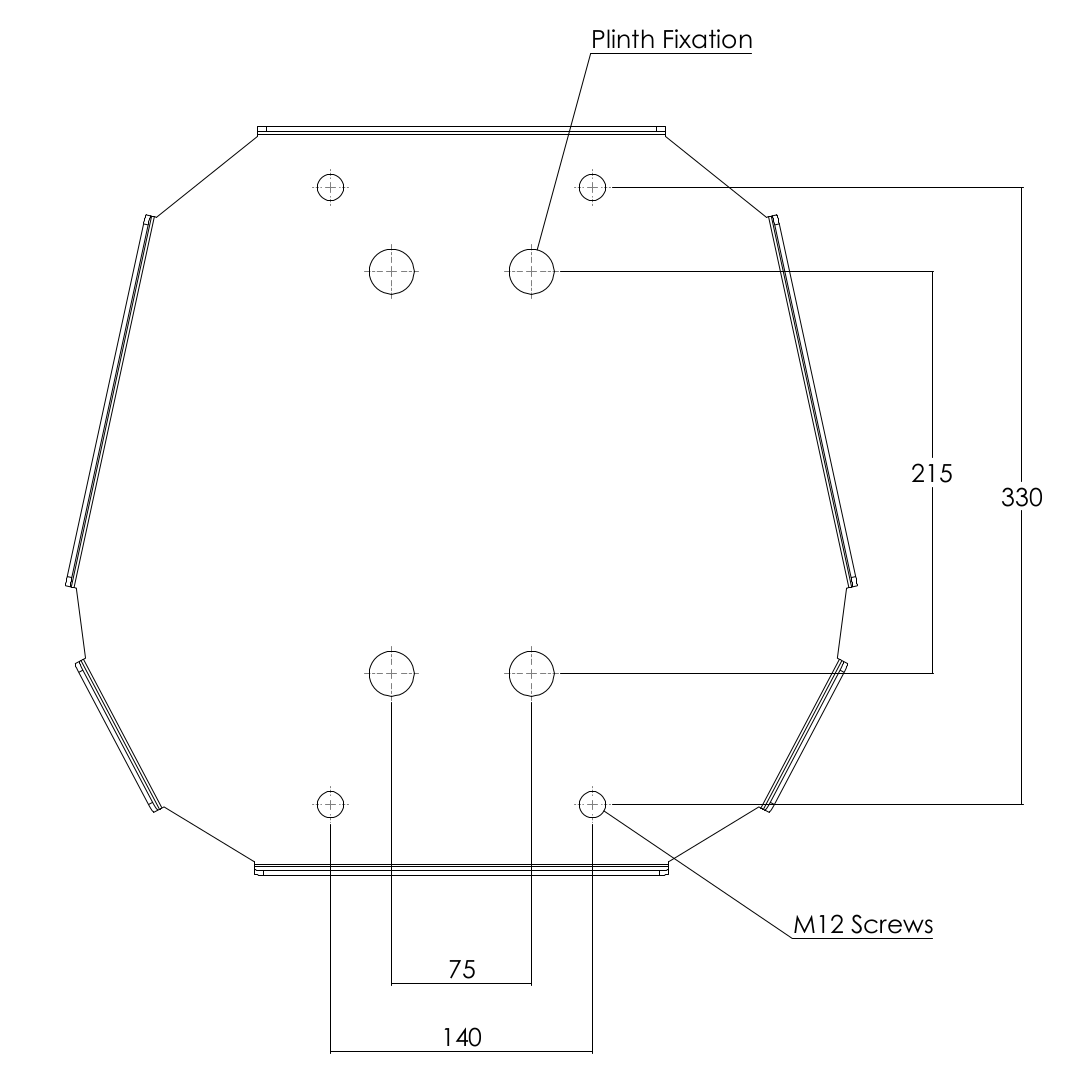
To do so, locate the smaller M12 screw locations at the bottom of the machine with its door open. Mark these in the floor or use the schematic below to determine drill locations. (Measurements in millimetres.)
⚠️ The larger holes are used for the optional Plinth upgrade. See the Plinth installation article for details.
Use a power drill with an appropriate drill bit to create pilot holes, and a socket drill to deploy the M12 screws from inside the Sintra Forte into the floor.
Pairing with your admin
If you haven't yet done so, follow our Admin Setup Guide to create a server which hosts your admin, settings, and wallets.
Once you've configured your admin, generate a pairing code from its 'Add a machine' panel and take a photo of the resulting QR code.
Press the Initialize button on the Sintra Forte's screen.
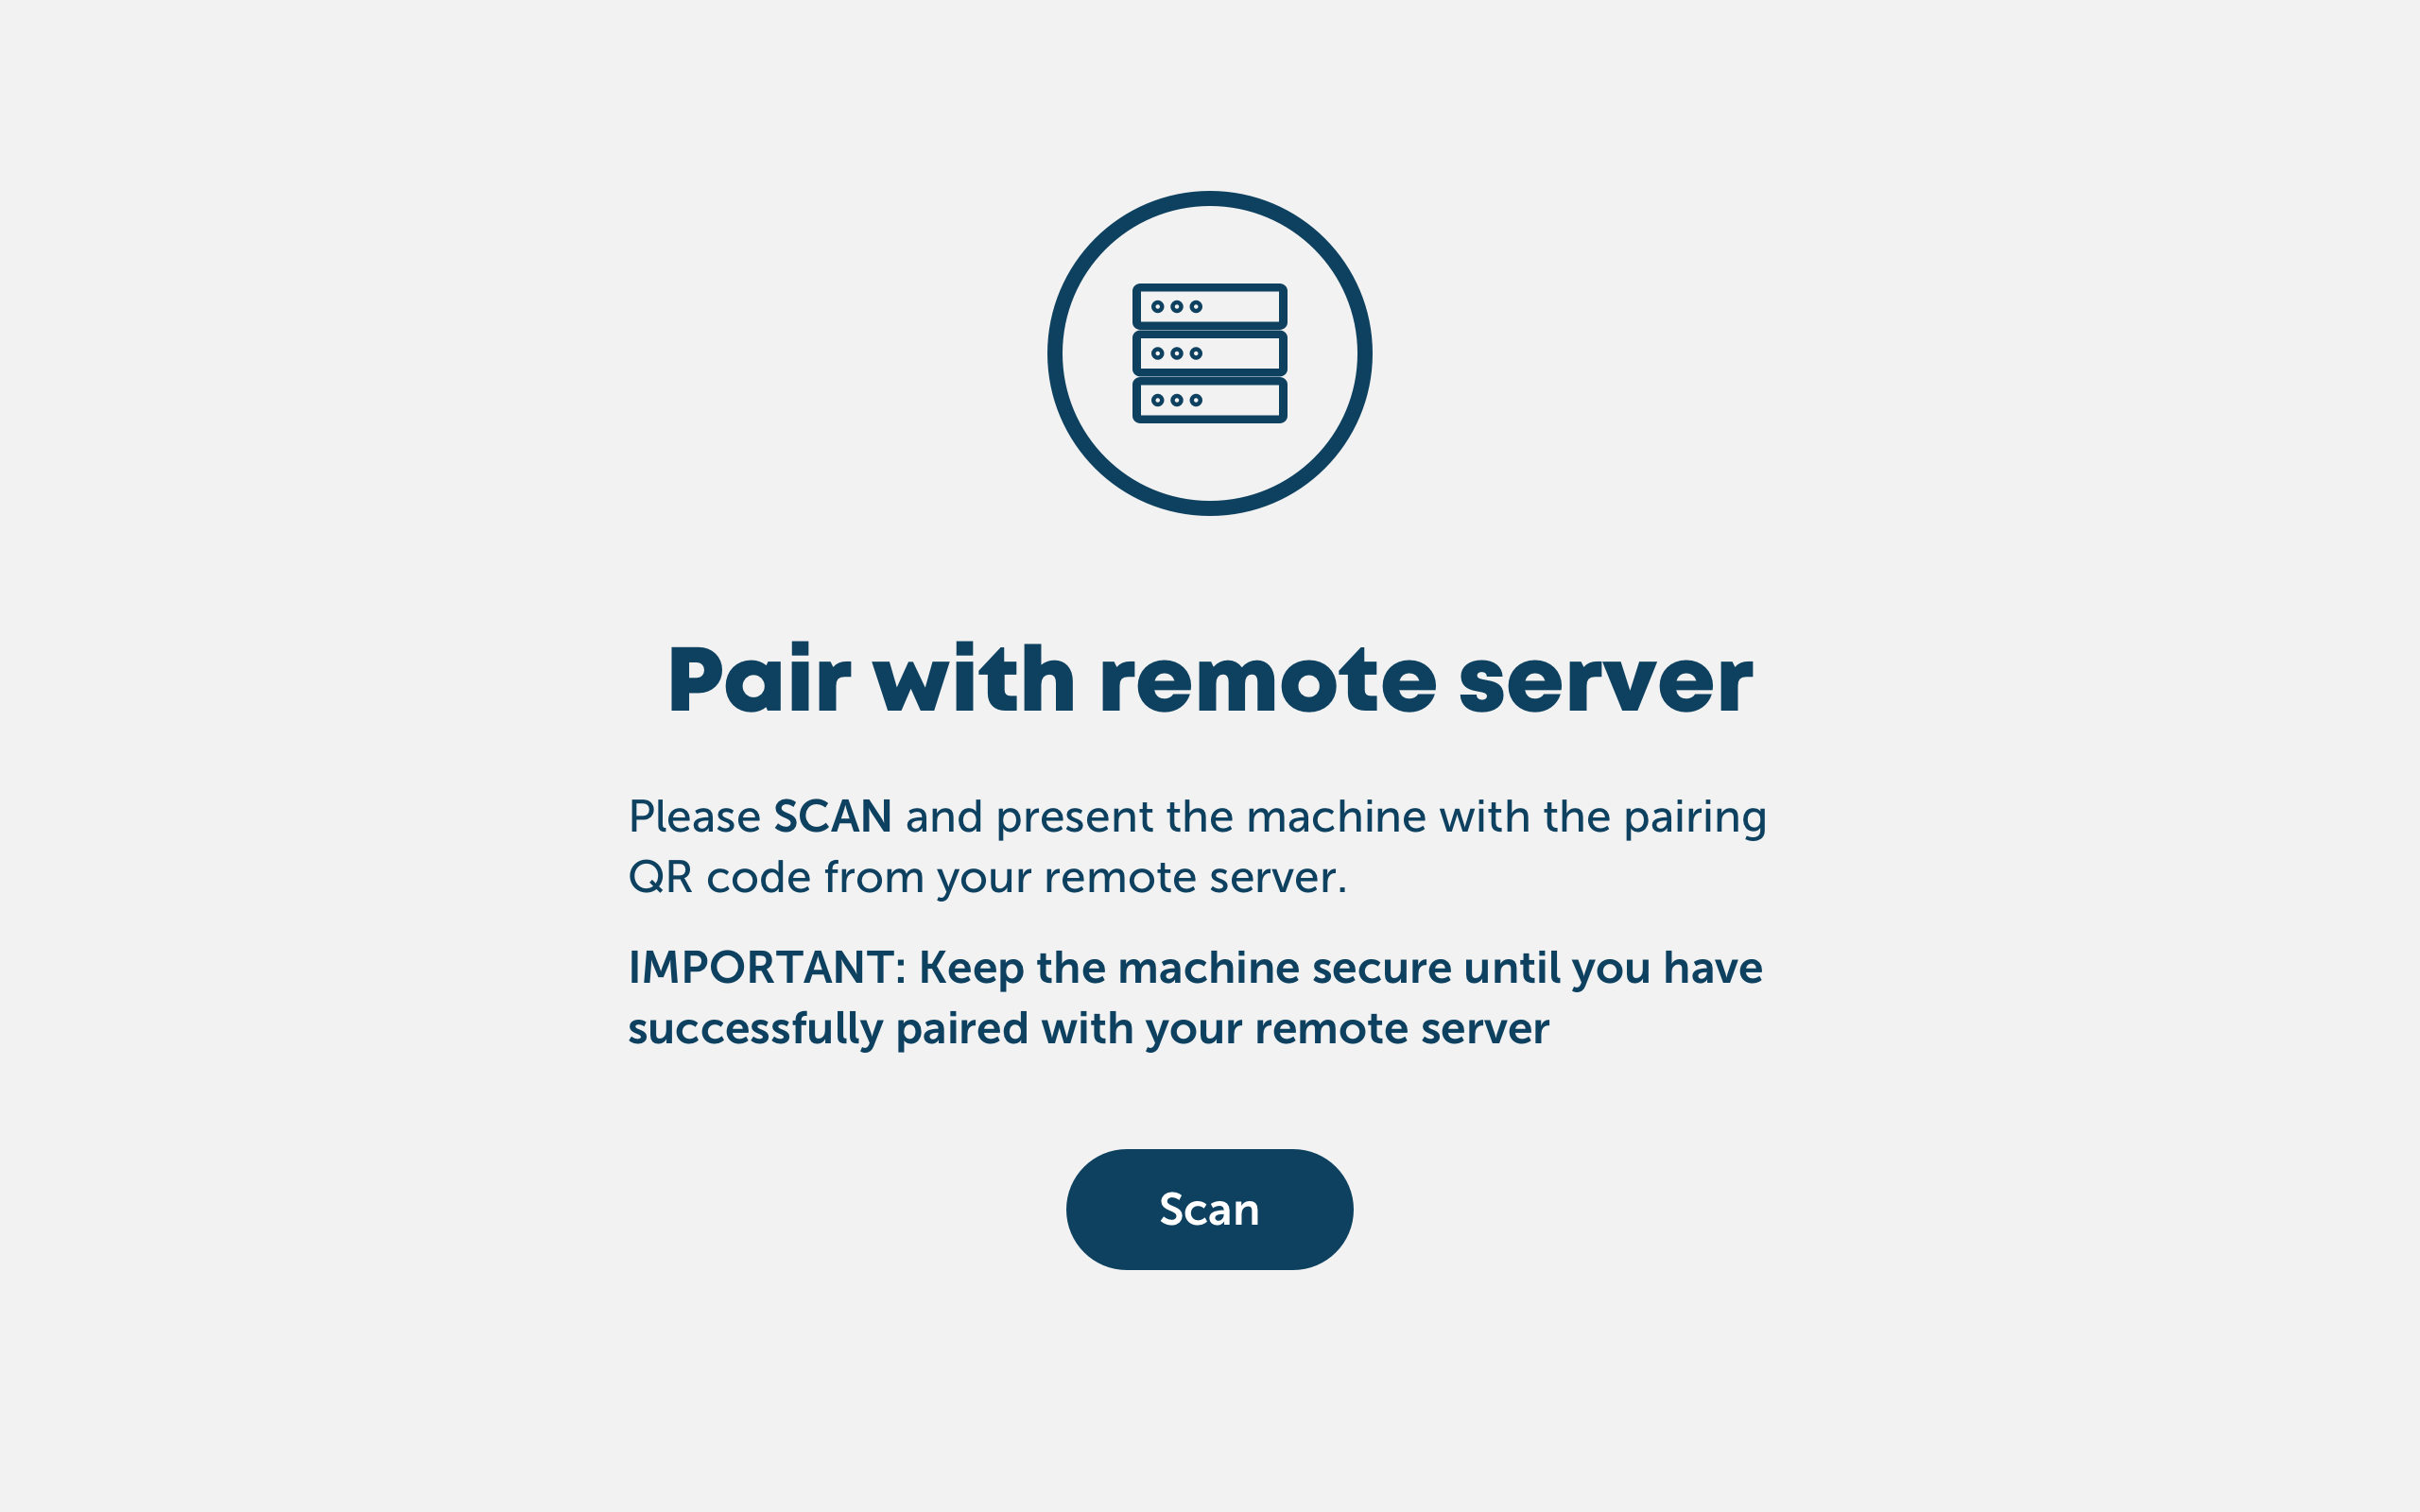
After about a minute, you'll see a Pairing screen. Press the Scan, and hold up the photo of the pairing QR code to connect it to your admin.
Follow further articles in our Admin Features section to fully configure your machine for transactions, including setting up support for cash-out.
Questions?
Drop us a line at our support desk and we'll be happy to help!
Follow our support announcements at @LamassuSupport for the latest news, updates, and articles.
Comments
0 comments
Article is closed for comments.