You can set multiple locales via your admin, so that customers at the machine have a choice of display languages.
To do so, first ensure that your machine and server are on v7.1 or higher.
Configuring languages
Within your admin's 'Settings > Locales' panel, click the pencil icon to edit and add the desired default locale first, then add additional language options (up to four total.)
For instance, if your machine is located in Canada, you may wish to select: en-CA, fr-QC, ga-IE.
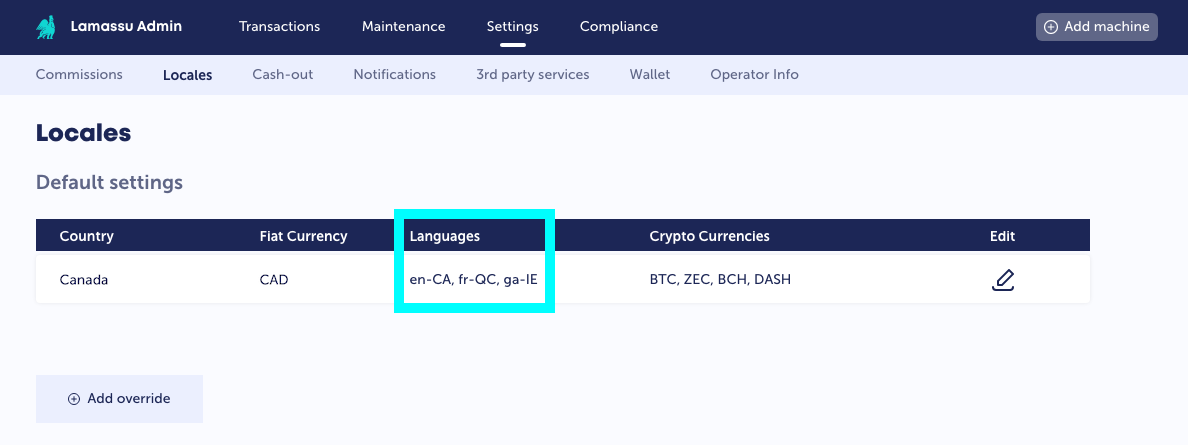
The choices for other machines will override the Default settings, which is the default for all paired machines unless otherwise defined through the '+ Add override' button.
'Languages' screen
After enabling multiple languages, you'll notice a 'Languages' button on the upper-right corner of the machine screen.

Pressing this button will give the user a choice in the UI language for the rest of their interaction with the machine.

Translating additional languages
If your desired language(s) are not yet fully translated, we'd more than welcome contributions to our open-source translation project.
Please contact support to indicate which languages you'd like to contribute to and we'll send you a link. For a native speaker, it should take about 30-40 minutes to complete.
Comments
0 comments
Article is closed for comments.