This article is part of the Admin Setup (Step-by-Step) guide.
Preparing your machine
- After carefully unboxing your cryptomat, and connecting it to the power and internet, press the 'INIT' button on its 'Congratulations' screen.
- It will take a minute or two to generate a pairing certificate, after which it will land on the 'Pair with remote server' screen.
⚠️ NOTE: As a high-security measure, do not leave your machine unpaired at a location.
Pairing to the admin
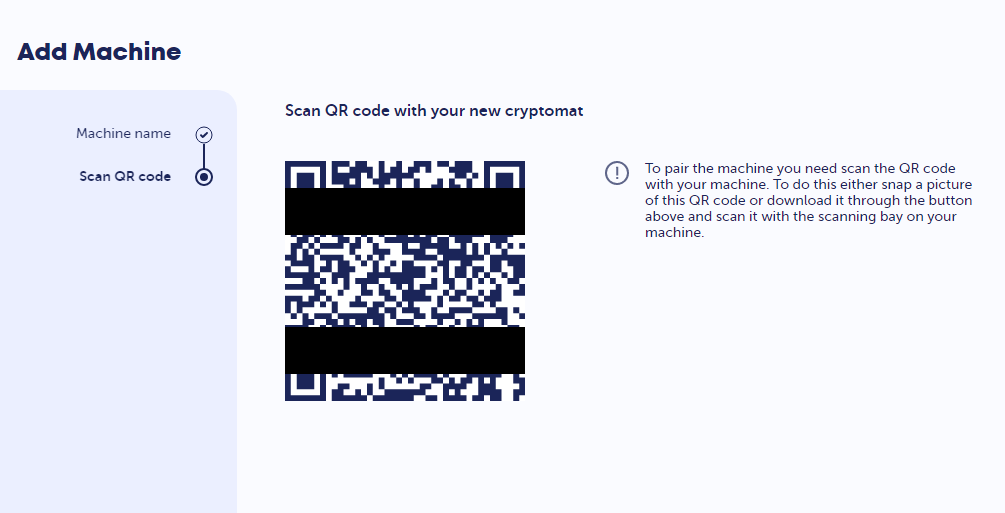
Once all basic admin fields have been configured through the start-up guide, your chosen modules and wallets selected, and 'lamassu-server' is showing as 'Running' under the 'Maintenance > Server' panel, pair your machine by clicking the '+ Add Machine' button on the upper-right.
- Give your machine a name that you'd recognize
- Click the 'Submit' button
- Then take a picture of the resulting QR code
- Scan this at your machine after pressing the 'Pair' button on the display
- Note that the QR code expires after 1 hour
⚠️ NOTE: If the machine takes the pairing code but ends up on a screen that says 'Sorry, we're down', please see this article: 'Sorry, we're down' directly following pairing - Then, come back to complete the following steps here.
Updating the machine software
Before further testing and deploying your machine, it may need an update to the latest software:
- After pairing, check your machine's version and compare it to our version releases.
- If needed reach out to our support team to coordinate an update.
Step-By-Step instructions
After the above is complete, continue with Step 10 in this section.
Comments
0 comments
Article is closed for comments.