Use this article to configure a Mailgun account for email notifications.
Signing up
Create an account by visiting: https://signup.mailgun.com/new/signup
Provide your information. They will charge $0.50 to verify your card and then revert the charge.
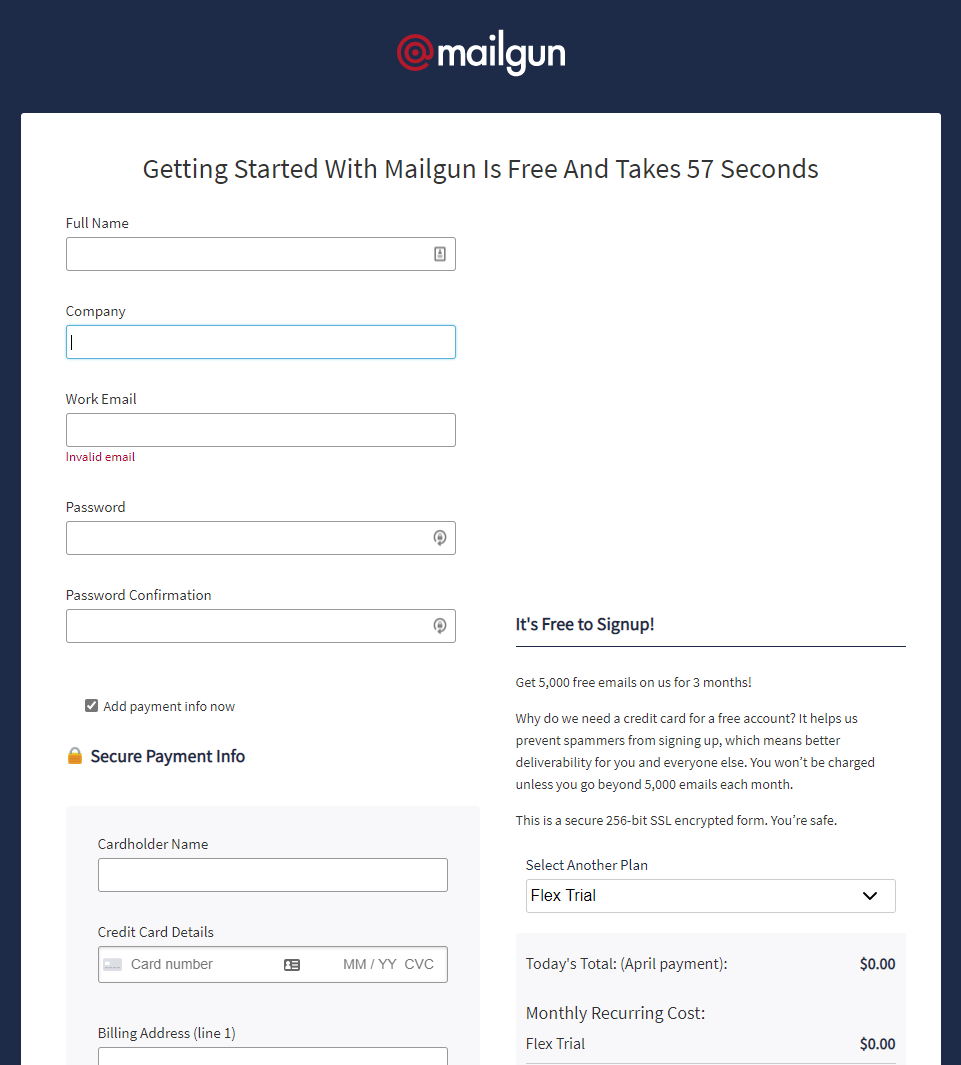
Select your mail bundle
We recommend the 'Flex Trial' plan, which is the free option for the first three months, then $0.80 per 1,000 emails after three months.
Go straight to the dashboard, clicking the 'you can ignore our advice and continue to the Dashboard' link in the bottom right.
Authorizing recipients
Click on 'Domains', then click on the domain you've setup.
Next, on the right hand sider under 'Authorized Recipients', add the email address you intend to receive notifications at.
⚠️ NOTE: You'll need to confirm the address by clicking on the email confirmation link Mailgun sends to it.
Obtaining credentials
Once you've verified a recipient email, you may gather the three credentials from within that same page.
The 'Domain' can be found at the top, and the 'API key' can be found by clicking 'select' under the 'API' section:
The 'From email' can be found by clicking 'Select' under the 'SMTP' section, it would be your 'Username':
The 'To email' will be the email you verified earlier, you may find this on the right side of the webpage under 'Authorized Recipients'.
Configuring your admin
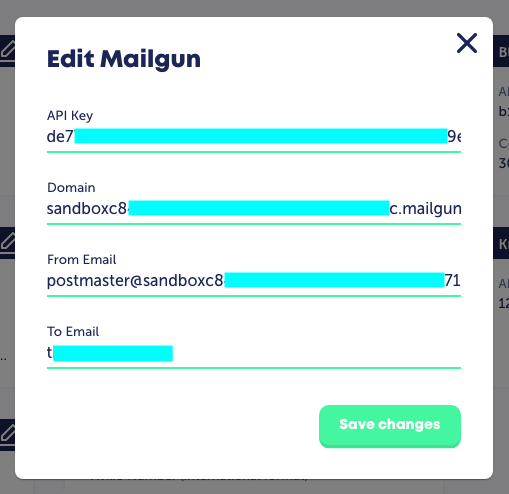
Paste the credentials into each field of the 'Settings > 3rd party services' panel of your admin.
The 'From email' is the 'Default SMTP Login' field from the Mailgun admin, and the 'To email' is that which you authorized above. Click Save changes.
Notifications
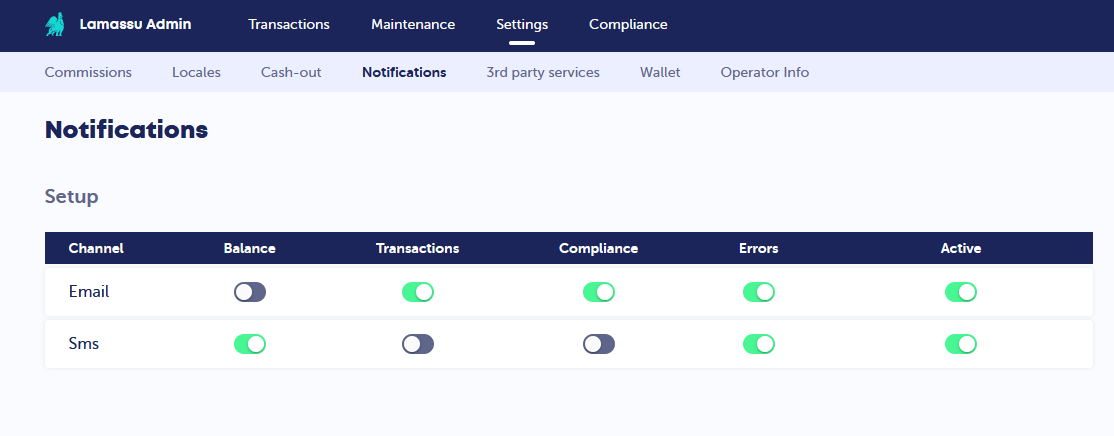
In the 'Setup' at your 'Settings > Notifications' panel, set 'Active' to On. Then, set the notifications you would like to receive to On.
Follow the 'Enabling notifications' article for more information, as well as to set up SMS alerts.
Comments
0 comments
Article is closed for comments.